We’ve been getting creative again, and this time we’ve made an attractive little flower box that will provide a beautiful complement to your new-look outdoor space. We’ve shown you how we did it below so that you can make your very own flower box from your leftover decking material. We used Thermory Pine profile D30, but you can use any decking wood as long as you have enough pieces in the size you need.
STEP 1: First, measure your materials and cut them to size – you’ll need two pieces of decking wood that measure 26 x 115 x 532 mm and two at 26 x 115 x 552 mm, all cut to a 45-degree angle at both ends, as well as 24 pieces that measure 26 x 115 x 420 mm with right-angled edges.


STEP 2: Lay out two of the right-angled pieces with the outside edges exactly 472 mm apart, using some of the other pieces to measure this distance by placing two of them on their sides at the outside edges and a third going across between these. Make sure that this piece is in place at the near end of the first two.


STEP 3: Lay two more pieces flush against the top piece to form a flat surface measuring 420 x 445 mm that starts from one end of the bottom two pieces.

STEP 4: Drill holes and then screw the top three pieces securely onto one of the bottom ones.

STEP 5: Using one of the spare pieces to measure, ensure that the top pieces are still correctly aligned with the other bottom piece as in step 2, then drill more holes and screw them into position.


The first finished panel should look a bit like this:


STEP 6: Repeat steps 2-5 three more times so that you have four identical panels.


STEP 7: Line up two of the panels as shown, with the ends of the horizontal pieces on one panel in contact with the outer exposed edge of the vertical piece on the other one, and no gaps in between.


STEP 8: Attach the panels by drilling a hole in the end of each horizontal piece on the first panel through the adjacent vertical piece on the second one and then screwing them into place.


STEP 9: Line up the rest of the panels as shown, with two opposite panels on the inside of the other two to form a rectangular frame for your flower box, and attach with screws as in step 8.

STEP 10: Turn the frame upside down so that the exposed ends of the vertical pieces are at the top.

STEP 11: Rest the remaining four right-angled pieces across the horizontal pieces inside the box.


STEP 12: Make sure they are correctly aligned before drilling holes and screwing them into place.


STEP 13: Turn the box back over and sand the 45-degree edges on the four remaining pieces.


STEP 14: Position the four 45-degree pieces on the top edge of the box, with the longer two pieces on top of the outer panels. Line them up, ensuring that the angled edges are flush.

STEP 15: Drill holes and screw the 45-degree pieces into place, attaching them to the horizontal pieces at the top of the box.


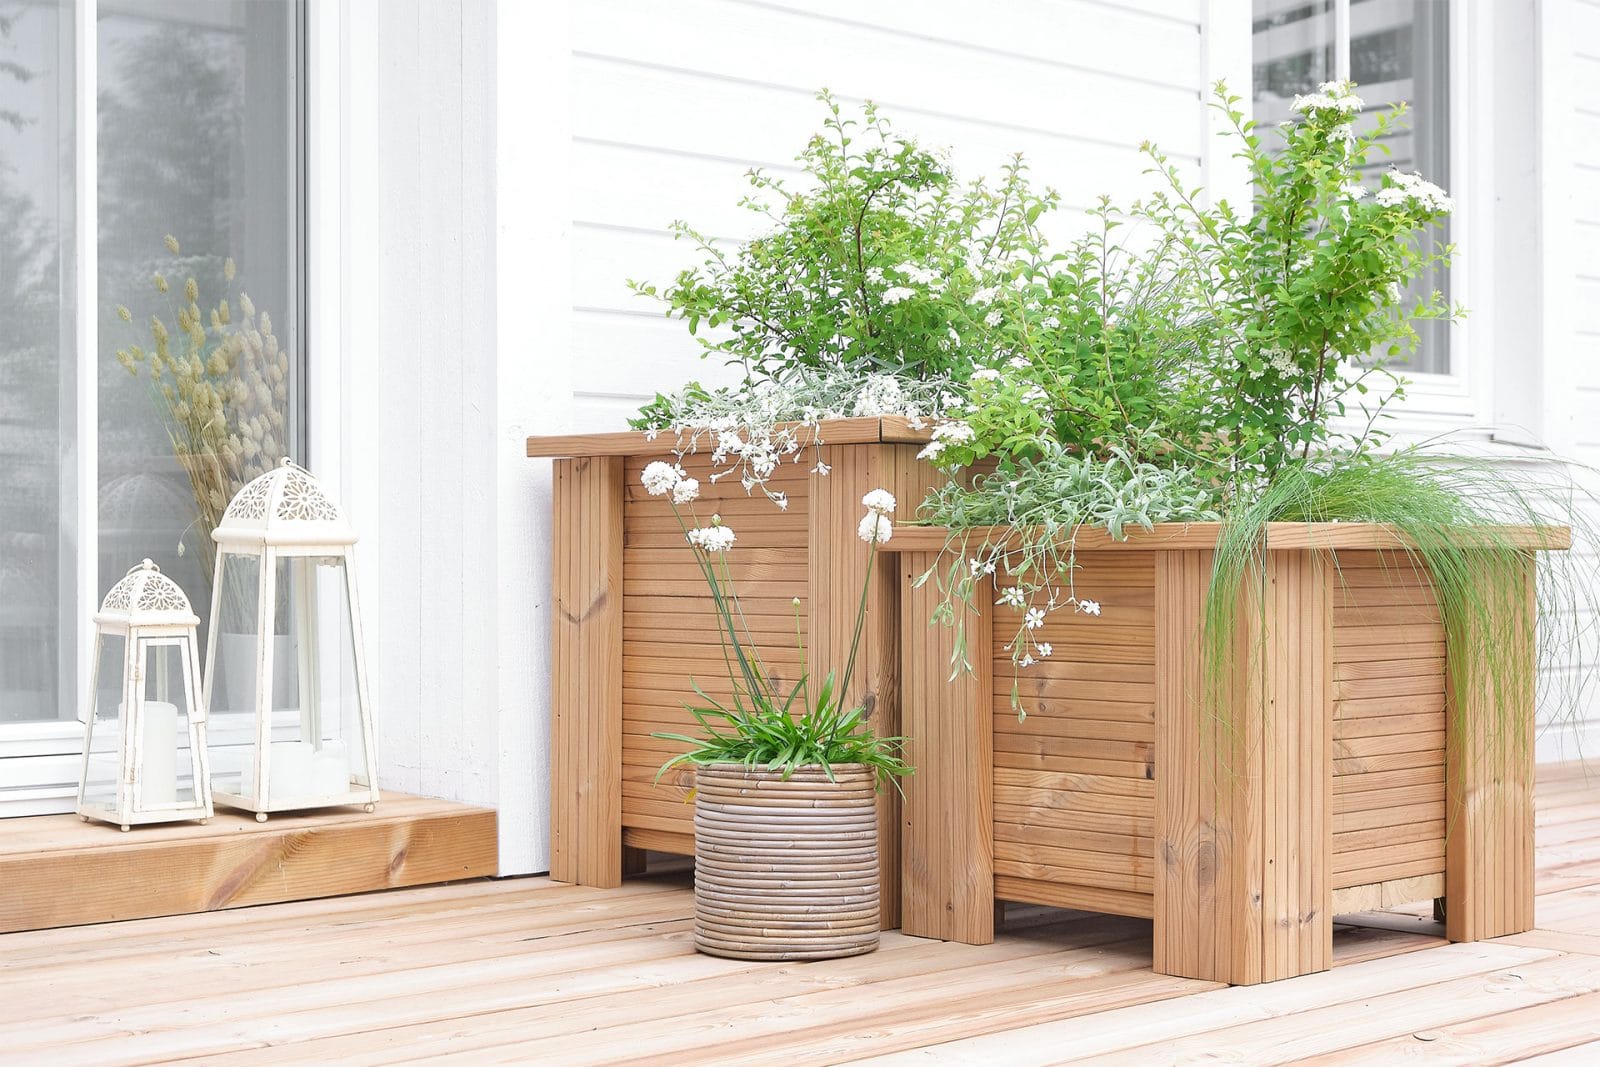
Your flower box is ready! It should look something like this:

Of course, you can make some more flower boxes if you have enough wood left over – and you can even play around with different sizes as long as you get your arithmetic right!