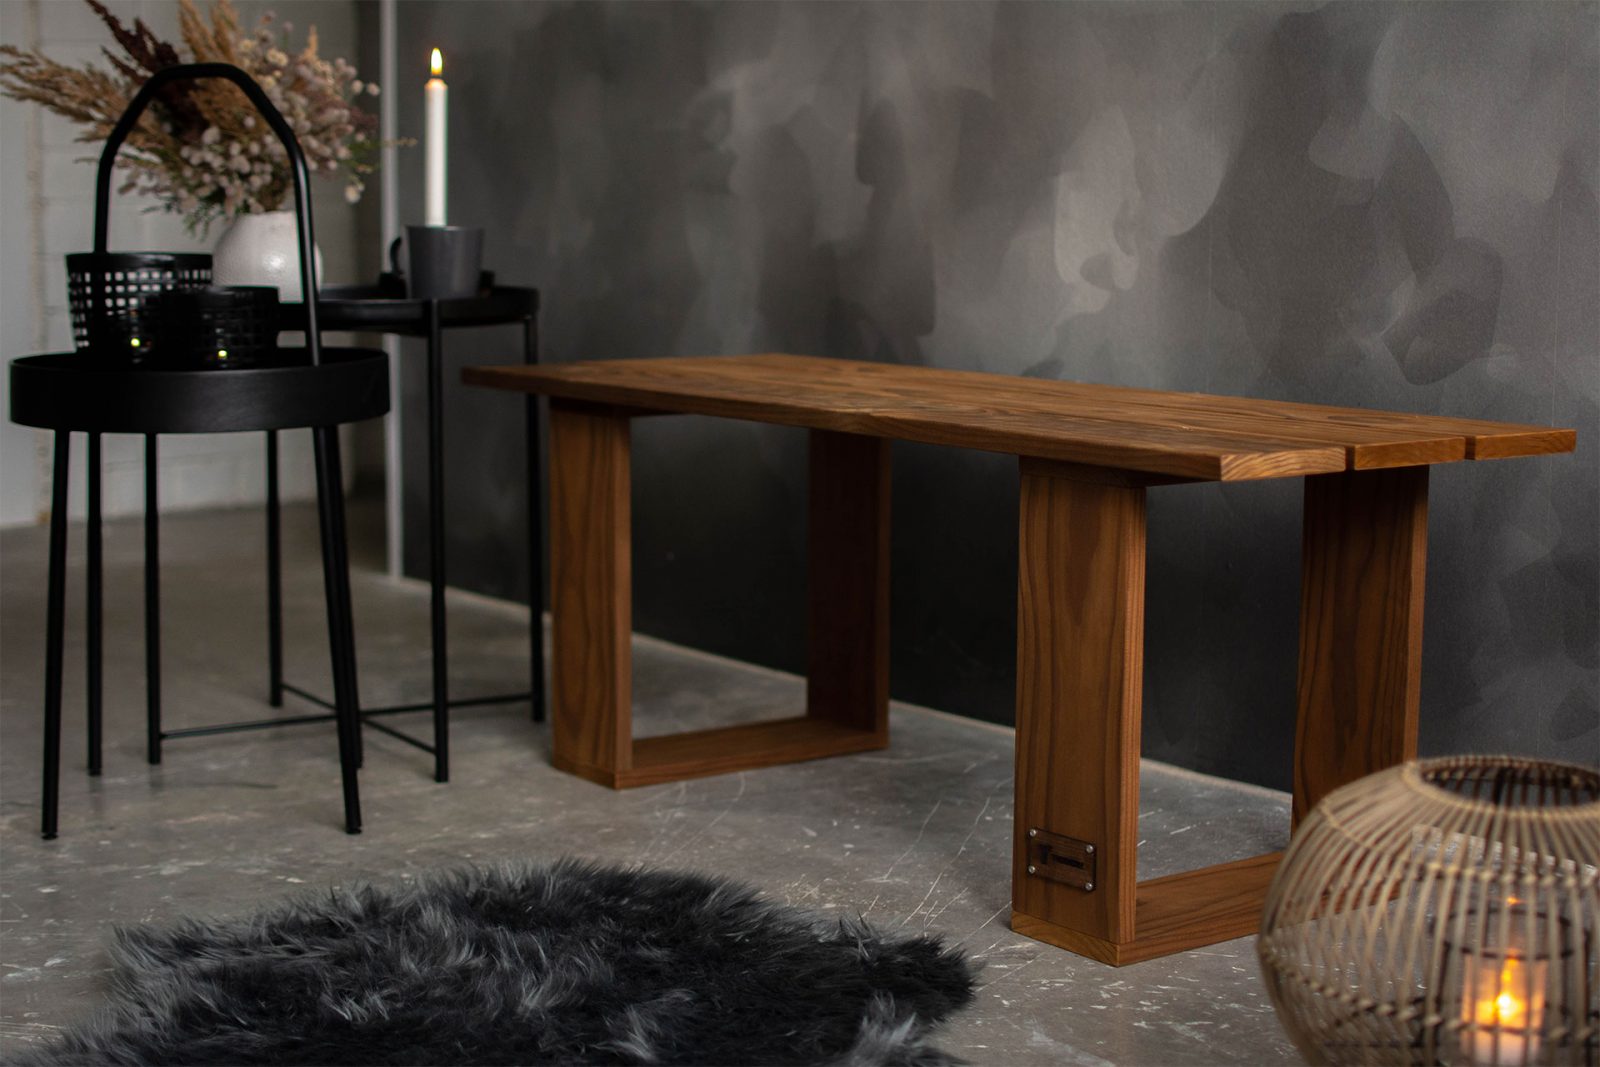
For the next installment in our DIY series, we show you how to make your own bench using Thermory radiata pine 20 x 138 mm cladding.When it’s completed, the bench will measure 1200 x 420 x 420 mm.

STEP 1: First, make sure you have all the materials you need in the correct sizes. This garden bench requires three pieces of Thermory radiata pine 20 x 138 mm cladding with a length of 1200 mm and eight pieces of the same cladding cut to 380 mm long, with another four pieces cut to around . You will also need 24 stainless steel screws measuring 4.5 x 70 mm and another 24 smaller screws of 3.5 x 35 mm.


STEP 2: On one of the 380 mm cladding pieces, mark a point 10 mm in from the end and 20 mm down from the top edge. Mark a second point 10 mm in and 70 mm down, and a third one 10 mm in and down. Repeat at the other end of the piece, then do the same with three more of the 380 mm pieces, so you have marked four of them in total.

STEP 3: Drill holes where you drew the marks.


STEP 4: Sand the sawn edges of your pieces until they are smooth.

STEP 5: Arrange two of the 380 mm pieces with drilled holes and two without holes into a rectangle so that the ends of the undrilled pieces are in contact with the holes on the other pieces. Insert a 70 mm screw into each hole and screw them in tightly.

STEP 6: Repeat step 5 with the other four 380 mm pieces so that you have two rectangles.

STEP 7: Place the three 1200 mm cladding pieces in a row with the four 30 mm pieces placed between them, two at either end, using the smallest edges to maintain an even gap of 20 mm between each piece.

STEP 8: Using a spare piece of wood with a straight edge, ensure that the pieces are also aligned at the ends


STEP 9: Place one of the rectangles you made earlier, shorter edge downwards, on top of the three 1200 mm pieces, 138 mm in from the end and 37 mm in from each edge.


STEP 10: Measure, mark, and drill two holes in the rectangle. Each hole should be 20 mm in from one edge of the central 1200 mm piece and 20 mm in from the outer edge of the rectangle. Insert a 35 mm screw into each hole and screw them in tightly.

STEP 11: Measure, mark and drill four more holes in line with the ones you made in step 10. For each of the outer 1200 mm pieces, drill one hole around 10 mm in from the inner edge and another one 10 mm in from the inside of the upright piece in the rectangle. Insert 35 mm screws into all the holes and tighten.

STEP 12: Repeat steps 10 and 11 with six more screws, 20 mm in from the inner edge of the rectangle and in line with the ones you already inserted into the outer edge.
STEP 13: Repeat steps 9-12 to attach the second rectangle at the other end of the 1200 mm pieces. Your bench is now ready to use.
STEP 14 (optional): Treat your bench with Thermory oil for a protective finish that brings out the beautiful, distinctive grain of the radiata pine. As you can see from the final image, it really makes a difference when compared to unoiled wood.


Now you can enjoy your bench for years to come – in fact, you deserve to sit down and have a rest right now after all that hard work!